MongoDB Flex
This document describes how to create a backup and restore MongoDB Flex Database at STACKIT.
Access STACKIT project
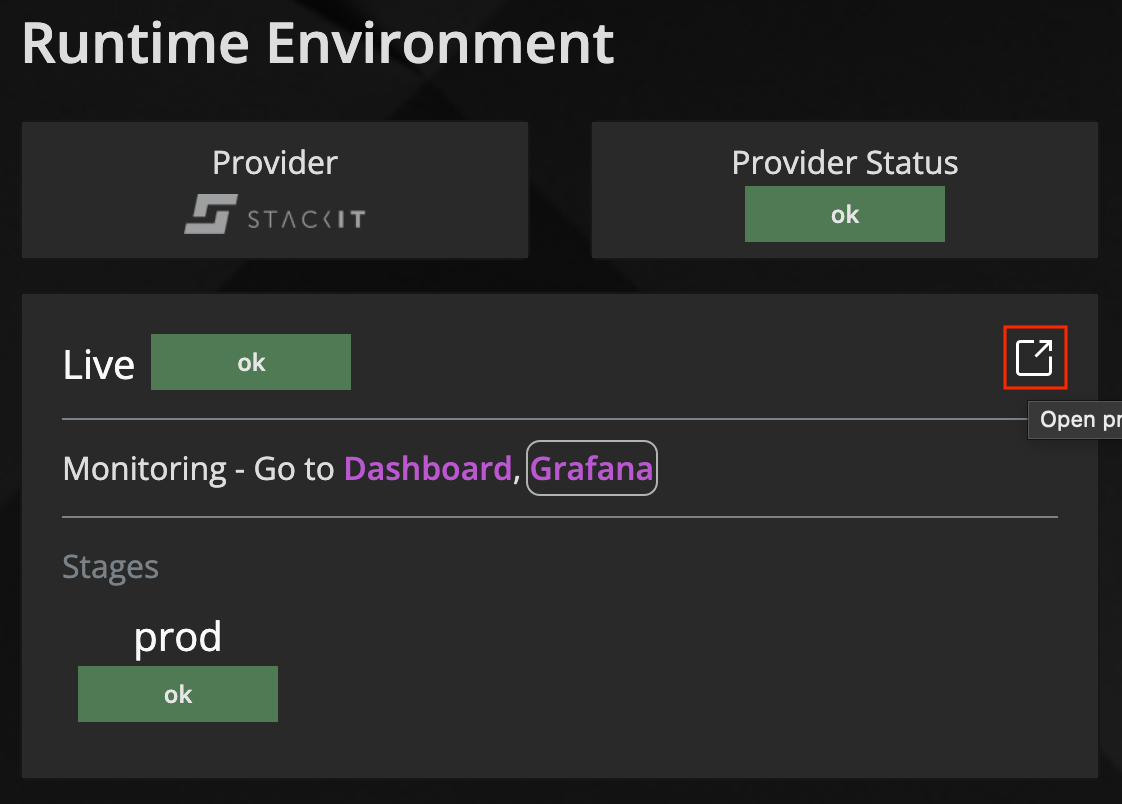
Inside the product detail page, click on the marked button in the work or live environment (depending your needs)
https://odj.cloud/
Maintain the backup schedule
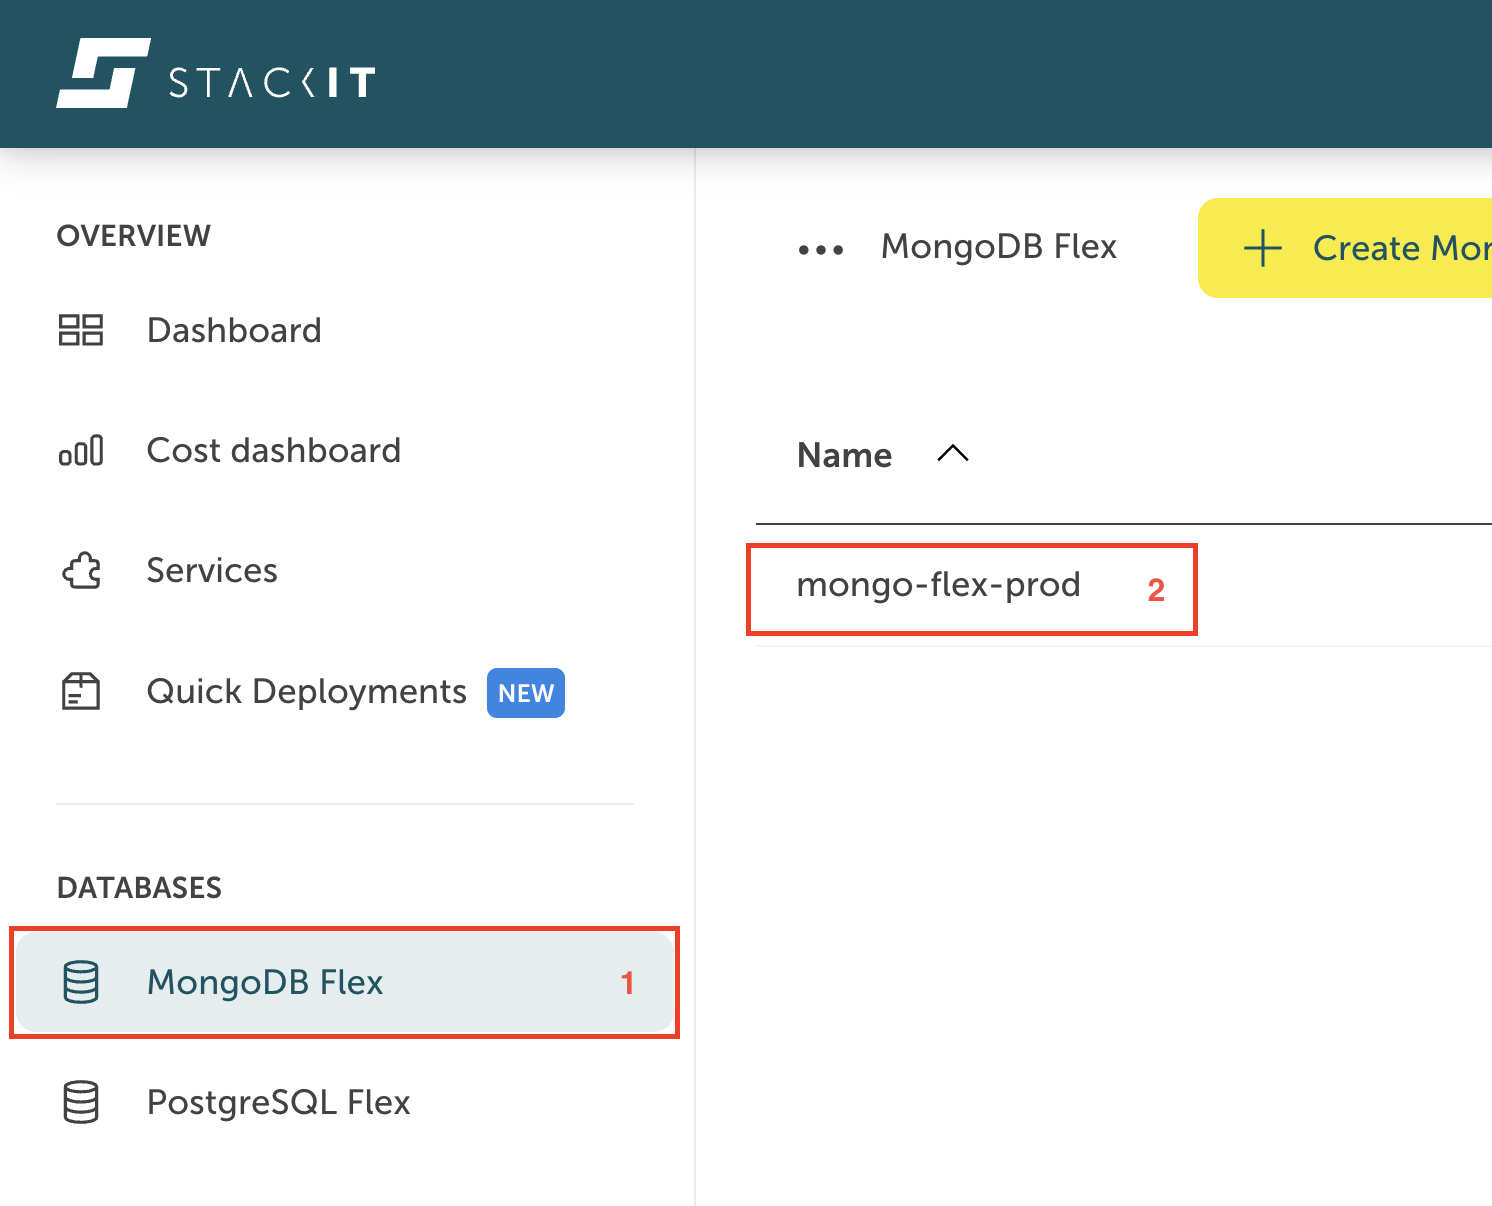
Start by selecting MongoDB Flex from the list of available databases. Follow these steps:
- In the main dashboard, look for the "Databases" section and click on "MongoDB Flex" to access your MongoDB Flex database.
- Select the instance where you want to create a backup schedule for
https://portal.stackit.cloud
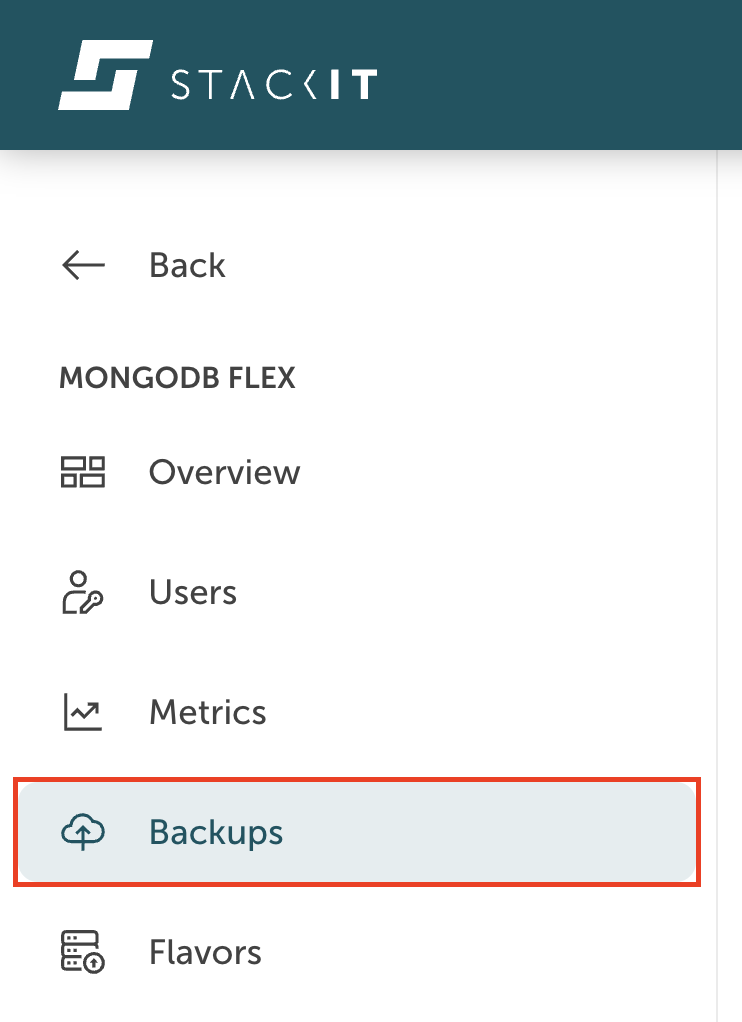
- Go to the "Backups" tab to manage your backup configurations:
https://portal.stackit.cloud
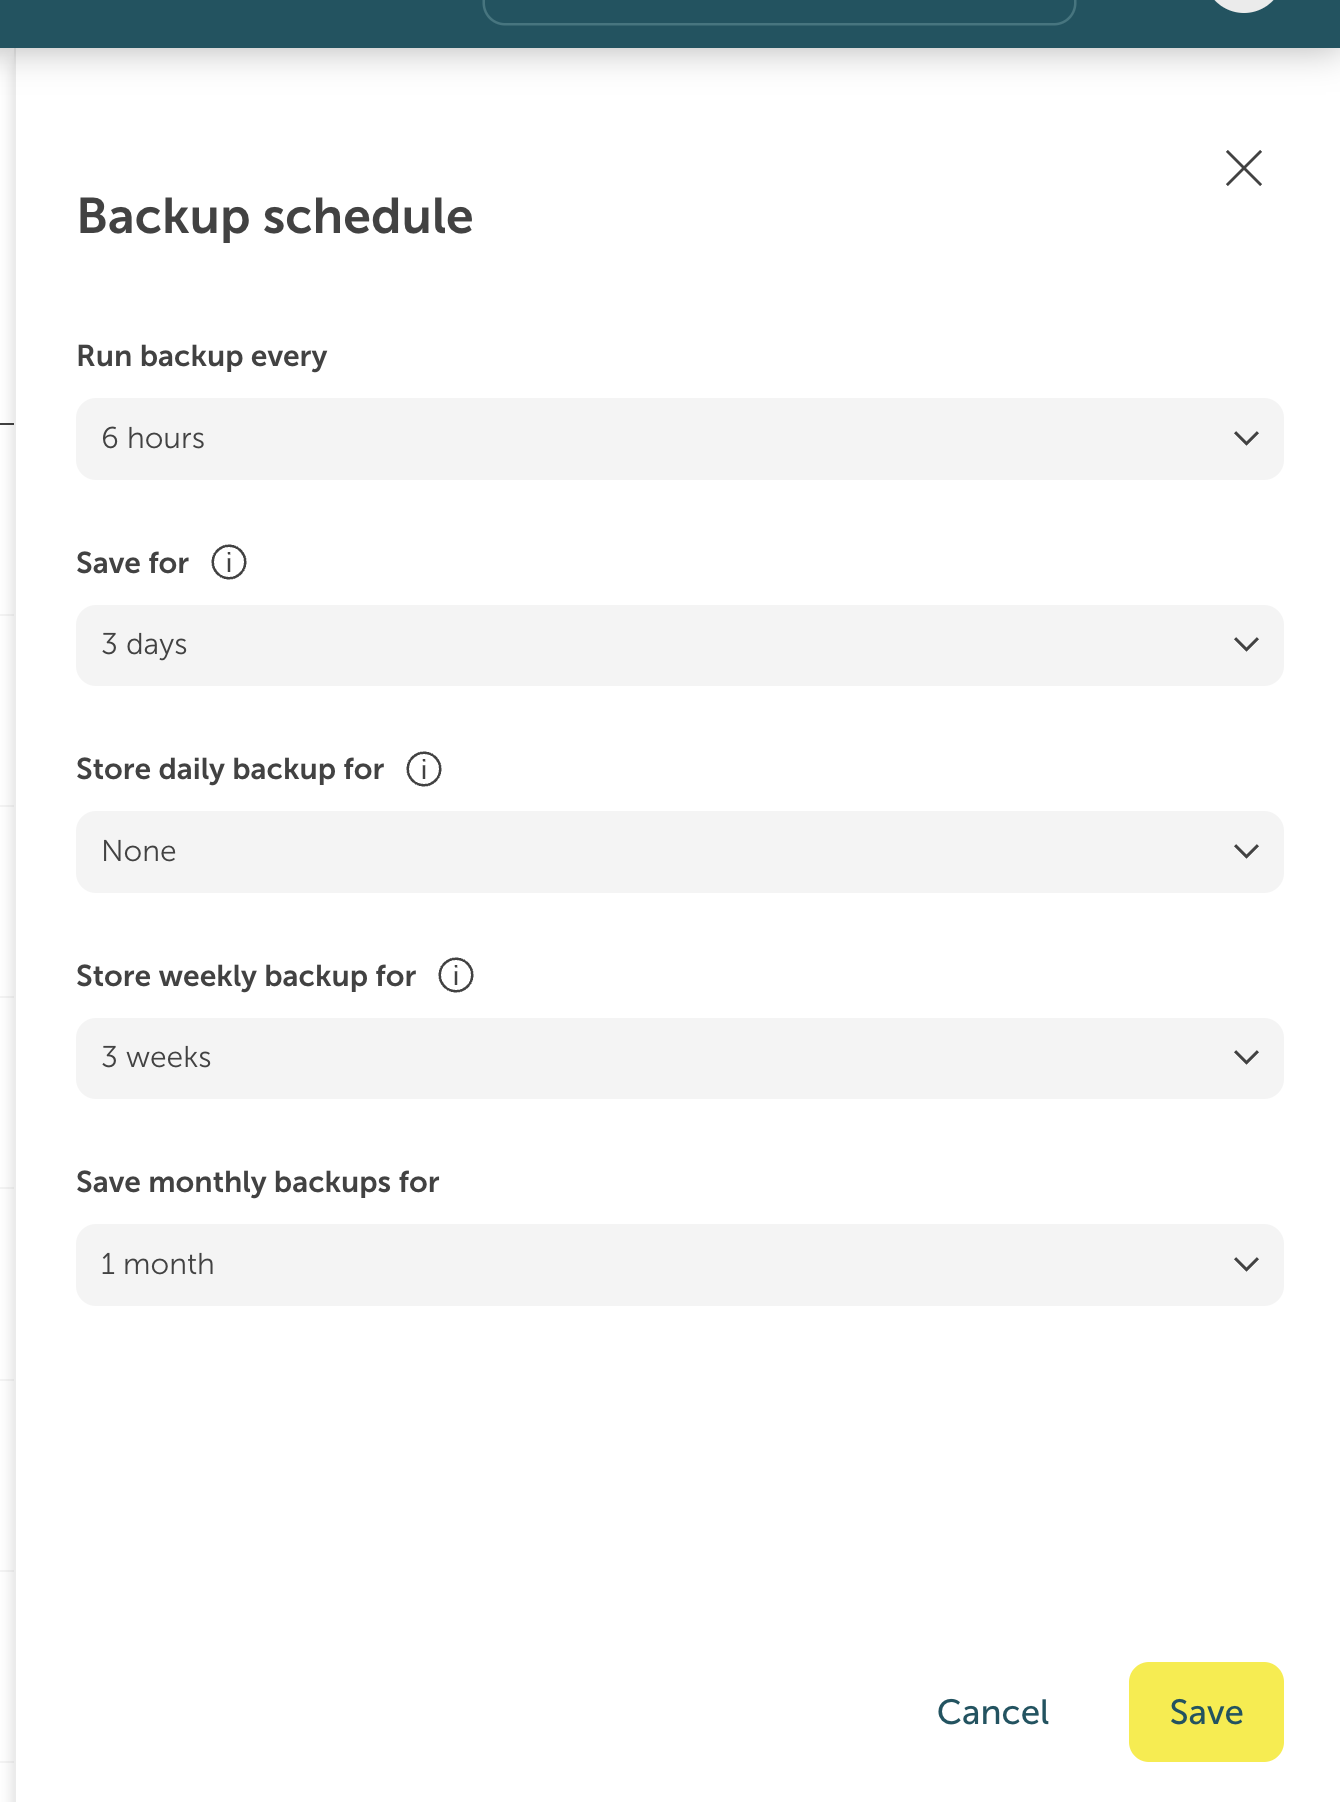
- Click on this button to open the schedule settings.
https://portal.stackit.cloud

-
Configure your backup schedule by specifying the frequency and retention policy for your backups.
- Frequency: Choose how often you want backups to occur (e.g., daily, weekly, etc.).
- Retention Policy: Define how long backups should be retained before they are automatically deleted.
-
Once you have configured your backup schedule, review the settings to ensure they meet your requirements.
https://portal.stackit.cloud
Restore MongoDB backup
To restore a MongoDB Flex database in STACKIT, follow these steps:
- Click on 3 dots next to the backup you want to restore (in the backups tab you got at 3. above).
https://portal.stackit.cloud

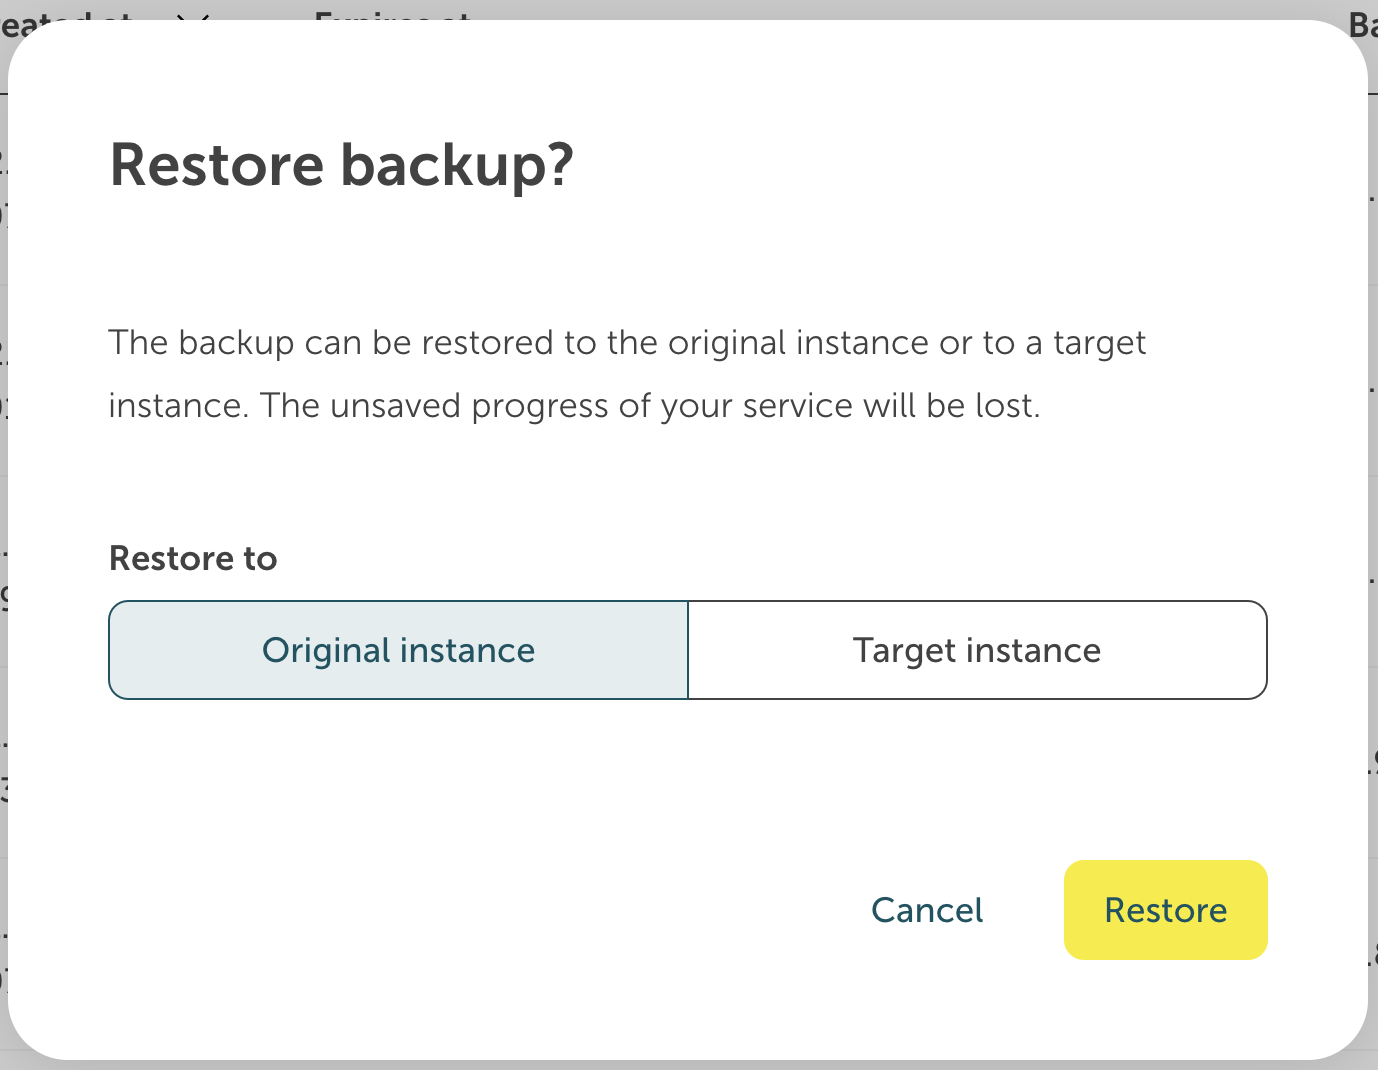
- Select "Restore to Original instance" and click on "Restore" button to initiate the restore process.
https://portal.stackit.cloud
info
Here you can find detailed instructions in the official STACKIT documentation as well.
Backup and Recovery of MongoDB Flex